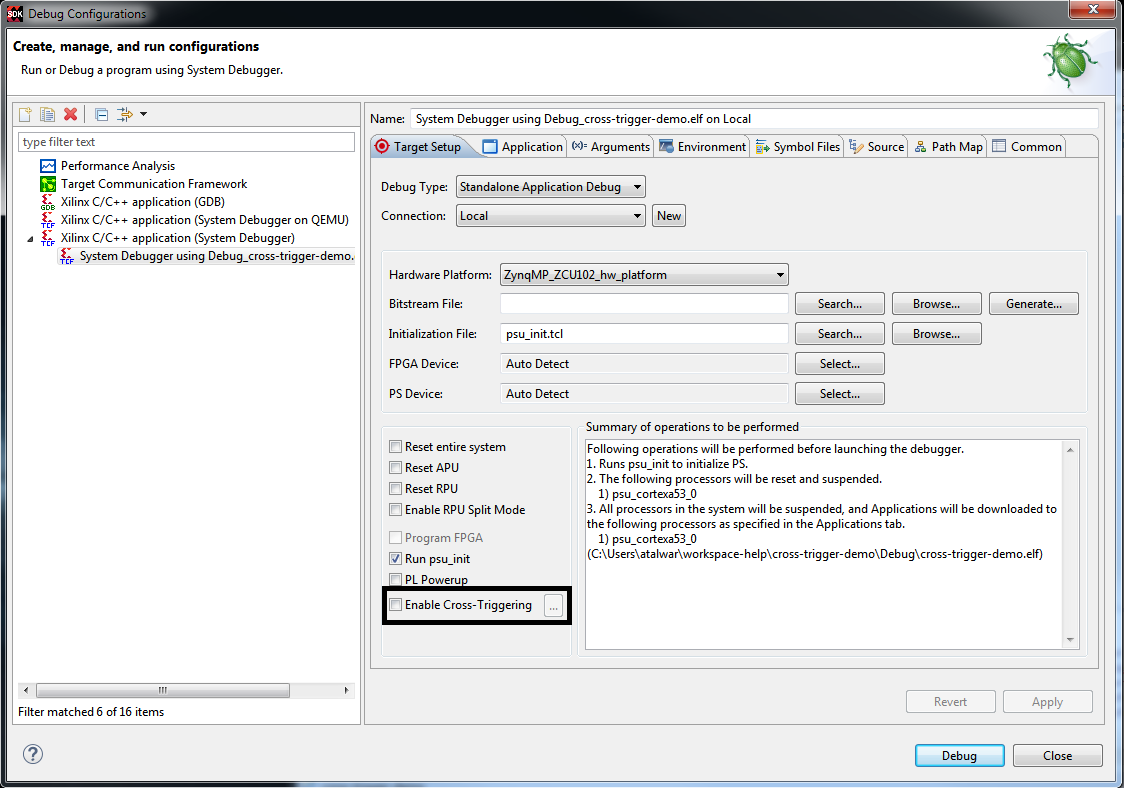
Enable Cross-Triggering
You can now create/edit/remove cross-trigger breakpoints and apply the breakpoints on the target using the Debug Configurations dialog box. To enable cross-triggering, do the following:
-
On the Target Setup tab page, select Enable
Cross-Triggering.
-
Click the
 button next to the Enable Cross-Triggering check box.
The Cross Trigger Breakpoints dialog box appears.
button next to the Enable Cross-Triggering check box.
The Cross Trigger Breakpoints dialog box appears.
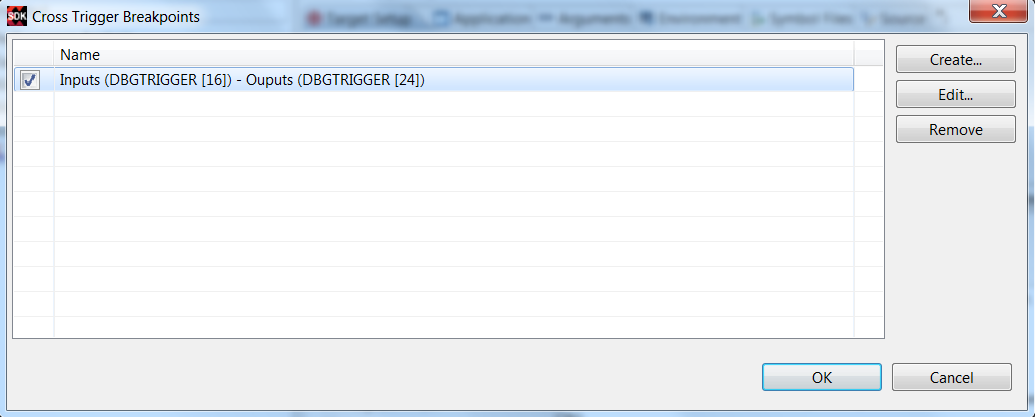
You can create new breakpoints, edit or remove existing breakpoints using the Cross Trigger Breakpoints dialog box. The table below briefly describes the options available on the dialog box.
Option Description Create Click to create a new cross trigger breakpoint. The New Cross Trigger Breakpoint dialog box appears. You need to select a cross trigger signal, which can be a source or destination of a cross-triggering breakpoint. The OK button enables only when you select at least one input and one output signal. Edit Click to edit an existing breakpoint. The Edit Cross Trigger Breakppoint dialog box appears that allows you to edit the selected input and output signals. Remove Click to remove the selected breakpoint.