Attach and Debug using Xilinx System Debugger
It is possible to debug the Linux kernel using the Xilinx® System Debugger. Follow the steps below to attach to the Linux kernel running on the target and to debug the source code.
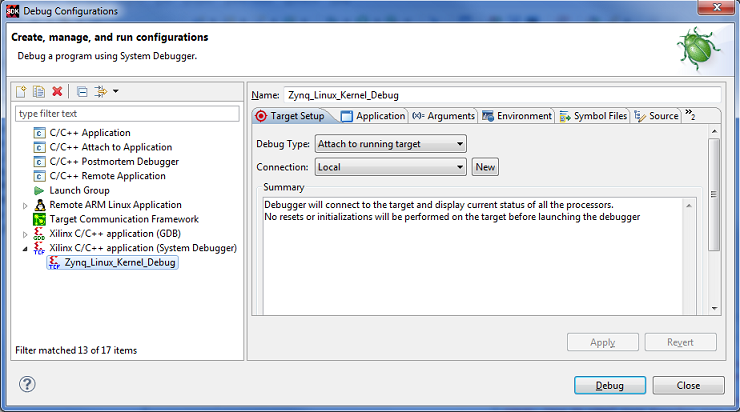
- In the Debug Configurations dialog box, select Xilinx C/C++ application
and click the New button:

- Name the configuration Zynq_Linux_Kernel_Debug.
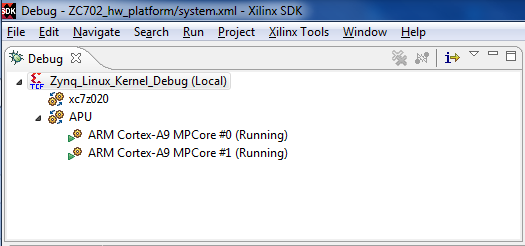
- Debugging begins,
with the processors in the running state, as shown below.
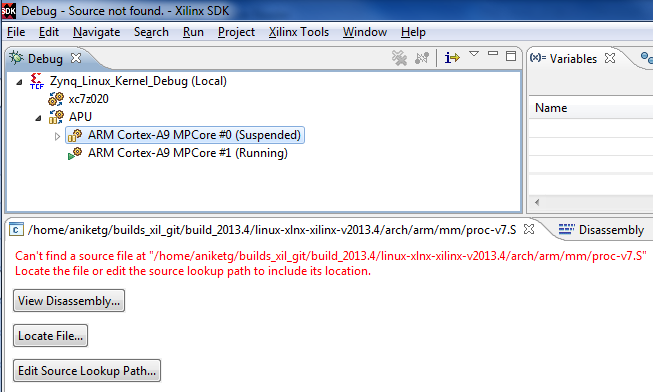
- Click the Pause
button to suspend the processor:
 Debug
starts in the Disassembly mode.
Debug
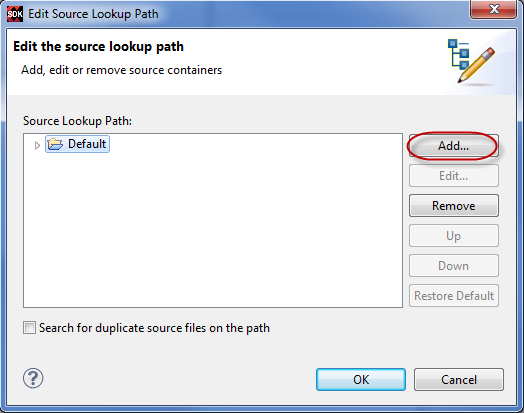
starts in the Disassembly mode. - You must set up “Source Lookup” if you built the code on a Linux
machine and try to run the debugger on Windows.
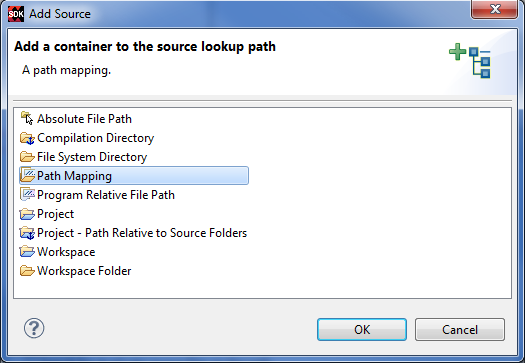
- Click Add.
- Select Path Mapping
from the Add Source dialog box.
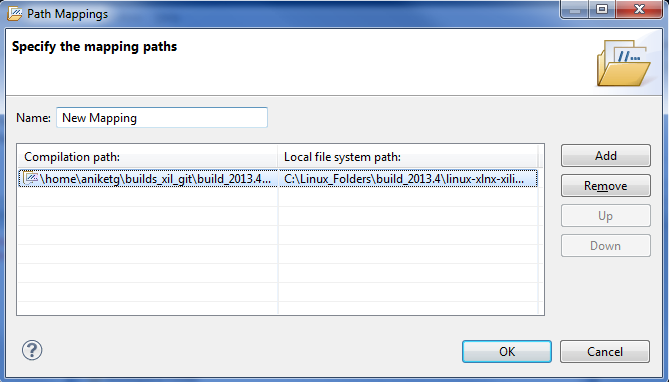
- Add the Compilation
path and local file system path by clicking Add.
- Successful source
lookup takes you to the source code debug.
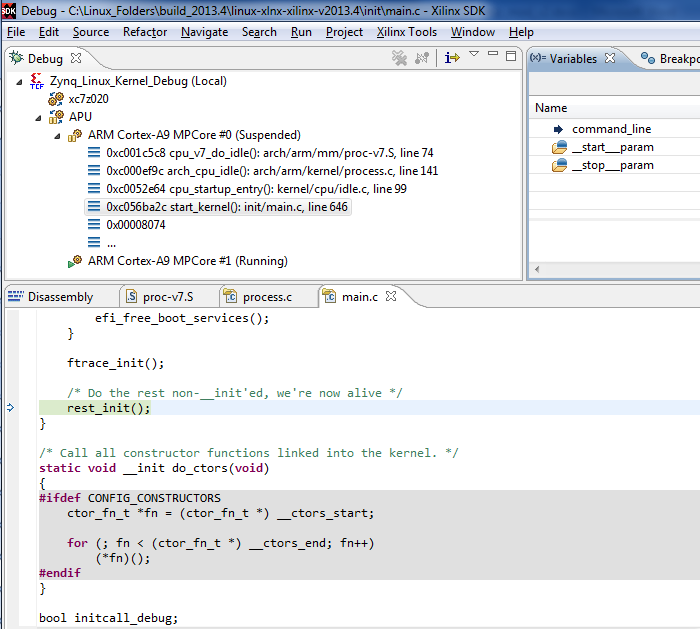
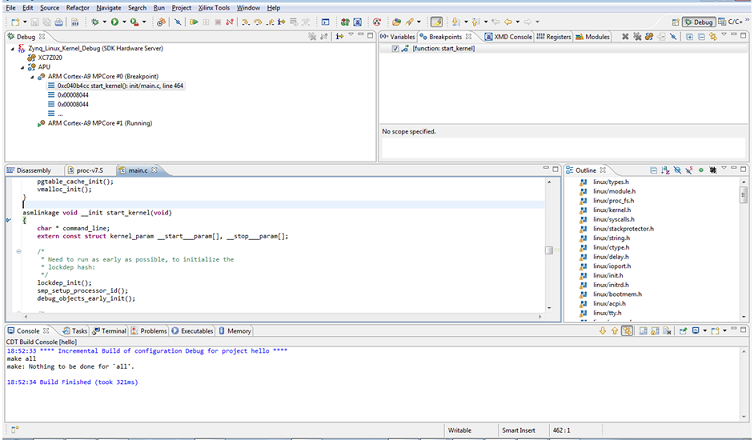
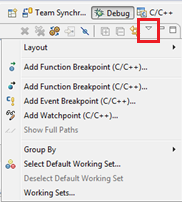
- You can add function breakpoints using the Breakpoints view toolbar:
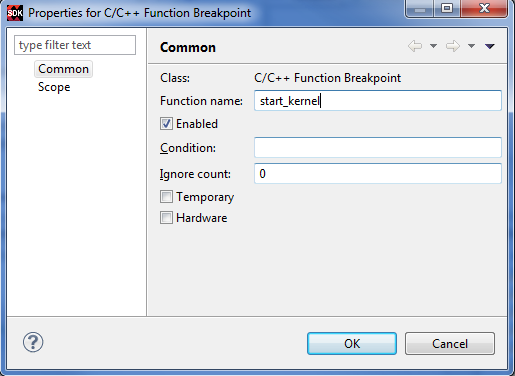
- Add
a breakpoint at the start_kernel function.
- Click the reset button.
The Zynq®-7000 AP SoC processor boots from the SD card and stops at
the beginning of the kernel initialization.
Note: The Linux
kernel is always compiled with full optimizations and in-lining enabled.
Therefore: